
For as much time as we spend purging the pantry and cleaning out the fridge, you’d think our freezers would look like something off Danny Tanner’s Pinterest page. But the reality is that, for whatever reason, the freezer clean-out is perpetually banished to the bottom of the to-do list, cruelly neglected until our frozen veggies ice over in a blanket of white crystals and ultimately wind up in the compost pile.
But here’s the thing: if you’ve got the right tools — hello, cute freezer cubes — cleaning and organizing the freezer is quite literally a breeze. Here are some tips on how to give your freezer a makeover so it’s easier to clean and maintain.
Step 1: Purge the Old and Expired
The most satisfying part about any good cleanout is the purge phase. Start by getting rid of products that have gone bad or you know you won’t eat. Pro tip: While it can be helpful in determining how long that bag of bone broth has been chilling in the back corner of the deep freezer, don’t go based off expiration date alone. Health experts say perishable foods are usually safe to eat beyond their expiration date, so long as they’ve been stored and handled properly. Waste not, want not, right?
Give Your Freezer Organization Journey a Kickstart with W&P
Step 2: Give the Interior a Deep Clean
To avoid unnecessary food waste, make sure to store the food you plan to return to the freezer in a cooler while you clean. With the freezer empty, you’ll get the rare chance to wipe down every square inch of the interior of your freezer to get rid of that iced-on gunk that’s been hanging out for ages.
- Use hot, soapy water to melt any accumulated ice and get to the mess beneath.
- If possible, remove bins, shelves and trays and soak them in warm, soapy water for five or 10 minutes before giving them a good scrub.
- While many people recommend using bleach to disinfect the freezer, we don’t love the idea of harsh toxins intermingling with our food. After scrubbing the interior, follow up with vinegar or alcohol, which have natural disinfectant properties but are safer for you and your family.
- Before adding anything back in, dry the interior of the freezer with a towel.
Step 3: Stash Food in the Right Containers
Watch a few satisfying TikToks, blast the ’90s hip-hop, do what you’ve got to do to get into an organizational state of mind because it’s time to start stacking and cracking. As we all know, freezers get out of control when they’re full of awkward boxes, bulky jars and open bags of frozen veggies that spill everywhere. The best way to combat the disarray is to swap out packaging for freezer organization containers. These are space-optimizing, stackable, freezer-friendly heroes that will make restocking the freezer feel like a game of Tetris.
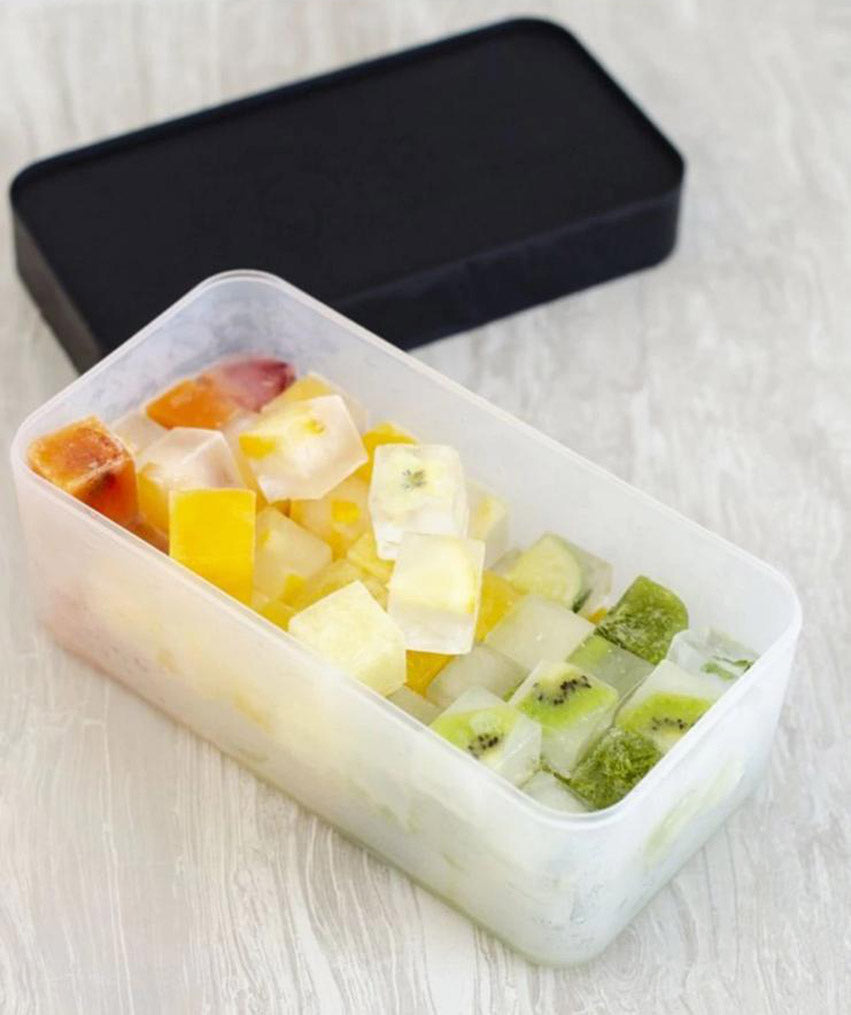
- Store liquids in modular cube trays. Cube trays aren’t just for ice! You can also use them to neatly store and preserve soups, sauces, broths, juice, coffee and more. This will free up wasted space caused by bulky jars or plastic freezer bags and will also create perfectly portioned servings.
- Upgrade your ice storage. Awkward, old-school ice trays and bins take up way more space than necessary. Swap them out for freezer trays that beautifully stack on top of one another and free up space. Plus, they’ll help you make high-quality ice at home to elevate your cocktail game.
- Store food in freezer storage bags. Reusable freezer storage bags are an eco-friendly, freezer-safe way to neatly stash frozen fruit, meat, pre-prepped meals and much more. Plus, they stack beautifully in the main compartment or shelves of your freezer, saving space.
- Stack and organize like a pro. Once you’ve got all your food in neat containers, you can start adding them back into the freezer in a logical manner. Put the freshest foods and those with the longest shelf life in the back of the freezer and keep the ones you want to use up sooner in the front. Bags with transparent fronts allow you to see the contents at a glance so you can keep tabs on your food. Stacking smaller bags in the front allows you to see the contents of multiple bags without having to dig through your freezer every time. Additionally, you can freeze liquids flat by laying the bags on their sides and once they are frozen, they will stack neatly without taking up as much space. Find out why W&P reusable freezer bags were the Consumer Report’s Editor’s Pick and what makes them better here.
Find Beautiful and Space-Saving Freezer Trays Here
Step 4: Revel in the Fruits of Your Labor
The key to keeping your freezer eternally neat and clean? Make the organization process fun with the help of organizational essentials that give you that satisfied feeling when you’re done. W&P makes well-designed freezer organization products that are stylish and sustainable to help you keep your freezer neat so you aren’t filled with dread every time you reach in for a handful of ice.